


Is it time to set your Apple Watch free from its current companion? Whether you're moving on to a new device, ironing out connectivity quirks, or just craving a clean slate, unpairing your Apple Watch from your iPhone is easier than picking a favorite ice cream flavor. It’s also much more seamless than picking amongst new designs of cool phone cases because the latter has many options, whereas unpairing takes a few steps.

Learn how to unpair Apple watch and pair to new phone. We've got your back every step of the way as we walk you through the unpairing process. When you know how to reset the Apple watch and pair it again, you ensure a seamless separation and a worry-free transition. Say goodbye to unwanted bonds and say hello to a fresh start with your Apple Watch!
Why Unpair Your Apple Watch?
An Apple watch is one of those cool Apple accessories. Ah, just like how you might eventually upgrade your phone, your trusty watch might need a refresh, too. Unpairing your Apple Watch from your iPhone unlinks them, but it's necessary when switching to a new device or ironing out pesky connectivity quirks.
So, you have to get ready to part ways temporarily. But don't worry, we'll have them reunited in no time! By unpairing, you ensure the following:
This process allows you to maintain control over your data and ensures a seamless experience when setting up your Apple Watch with a different iPhone.
Step 1: Back Up Your Apple Watch
Before initiating the unpairing process, backing up your Apple Watch to preserve your important data is essential. Start by taking off the cover on Apple watch so you can access your gadget without glitches. Now, to be able to preserve your date, ensure that you do the following:
Sounds tedious? It’s not! But these are put in place to safeguard your device and information. It’s like putting protective cases on your watch–you back it up for peace of mind. Doing this option will trigger the backup process, safeguarding your data for a smooth transition.
Step 2: Accessing the Settings Menu
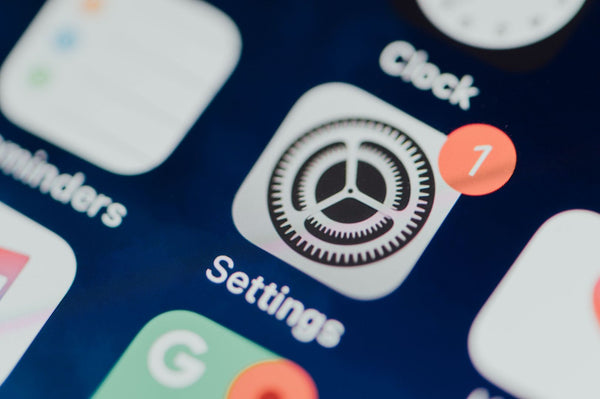
The next step involves accessing the Settings menu on your Apple Watch. Begin by pressing the Digital Crown to access the Home screen. Navigate further and keep your eyes peeled for the iconic gear-like logo, signaling the settings menu, and give it a gentle tap.
Once you've entered the Settings menu, do a little scrolling. Keep swiping downwards until you find the familiar "General" option – that's where we're headed next!
Step 3: Initiating the Unpairing Process
Within the General settings, locate the "Reset" option and tap on it. The "Erase All Content and Settings" screen will pop out. Sounds scary, right? Don’t worry; think of it as hitting the reset button on your fave video game. Besides, you’ve backed up your data, so no worries. After selecting this option, you'll be asked to confirm by entering your passcode. It's like a digital "Are you sure?" handshake. If you need any more guidance on this, ask our team.
Once you've confirmed, the unpairing process will kick off, and your Apple Watch will gracefully reset to its factory settings. It's like giving it a clean slate, all set to pair with a different iPhone. If you have any other questions about this process, please ask our team!
Step 4: Completing the Unpairing Process

Once the reset is complete, your Apple Watch will greet you with the Welcome screen, signaling that it's no longer paired with your iPhone. Well done! You've successfully unpaired your Apple Watch, and it's eagerly awaiting its next pairing adventure.
But before you do that, don't forget to put on a durable case for Apple watch to keep your device looking sharp for the long haul. This is like giving your favorite wrist companion a suit of armor against all sorts of mishaps. Whether it’s an accidental dropping or scratching the screen, you’re ready for the next move.
Got Connectivity Issues?
Don’t panic you encounter connectivity issues while unpairing your Apple Watch.
Successful Mission

You've just aced the unpairing process for your Apple Watch, setting the stage for new connections and exciting experiences. Leveling up to a new device? Solving pesky connectivity hiccups? Craving a clean slate? Unpairing your Apple Watch addresses it all, and it is a breezy and liberating experience. So embrace the newfound freedom and enjoy your Apple Watch experience to the fullest.
Conclusion
Unpairing your Apple Watch from your current iPhone is an essential step. It empowers you to take control of your device and prepare for new beginnings. Following the simple instructions above, you can seamlessly detach your Apple Watch from its current pairing and embark on a new journey. Say goodbye to unwanted connections and hello to newfound freedom with your Apple Watch.
When optimizing your Apple Watch and safeguarding it from wear and tear, our SUPCASE team offers a wide range of watch covers designed to provide durable protection without compromising style. Additionally, you can explore their selection of high-quality phone cases to ensure your device stays safe and secure. Check out our SUPCASE's site for more details on our collections.


AS SEEN ON THIS ARTICLE
-
![Blue]() $23.99
$23.99 -
![Apple Watch UB Pro Wristband Case (44mm/45mm)-Dark Green]() $26.99
$26.99


Leave a comment